
Delete and Export operations using Apex Data Loader
In this Crm Salesforce Training Tutorial we are going to learn about the remaining two operations called Delete and Export operation using Apex Data Loader in salesforce. For details about how to insert records using Data Loader, How to Update using Data Loader, How to Upsert using Data Loader and Overview of Data Loader.
How to Delete records using Data Loader in Salesforce ?

Open Data Loader and Select Delete.

Prepare CSV file and give record ID number to which the record we want to delete.

Select Object name and browse for CSV which we prepared earlier and select Next button.

Data selection is Successful and select OK Button.

Map the field by dragging the fields shown above and then select Next button.

Select Finish button.

select Yes to confirm delete operation.

Observe the warning message and Select Yes.
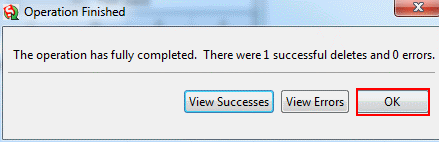
Records are deleted successfully and select OK button and open your Studentinfo Tab.

We have deleted Black record Successfully from salesforce.
How Export records from Salesforce to CSV ?

Select Export Button.

Select Object name and choose destination folder to which we want to store CSV file in PC. Then select Next Button.
Select field names to which we want to export fields. Here we selected Studentname__c, Subject1__c, Subject2__c, Subject3__c and course name from Studentinfo__c.
Select Finish Button.
Select Yes.

We have Successfully extracted total records and open CSV file to view records and fields.
Records and fields with column headers with the names given in our previous article is like above.