Salesforce for Outlook is also upgraded to provide more productivity and security enhancement by the year 2024. The new release brings AI-driven email management, which automatically organizes and prioritizes emails that pertain to Salesforce records—making responding to important communications more efficient.
- Sync every email, contact and calendar event in real time to avoid any data disparity for smooth continuity of workflow.
- Use robust security measures like end-to-end encryption and multi-factor authentication (MFA) which help protect confidential business data from falling into the wrong hands.
- With an improved and more user-friendly intuitive User Interface, the sixth version allows customizable dashboards
In our Previous Salesforce Training Tutorial we have learned how to install Salesforce for Outlook Software on a local machine. In this Salesforce Tutorial we are going to learn Configure Salesforce for Outlook Software on a local machine after installing Salesforce for Outlook Software on a local machine.
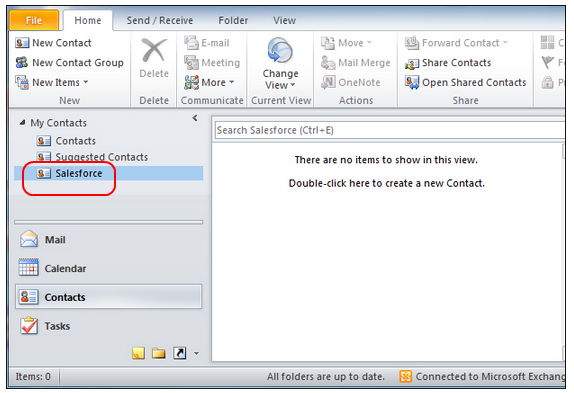
Open Outlook.
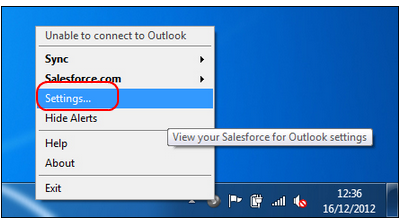
Here we don’t any contacts in Outlook. Now Double-Click on the small gray icon at task bar.
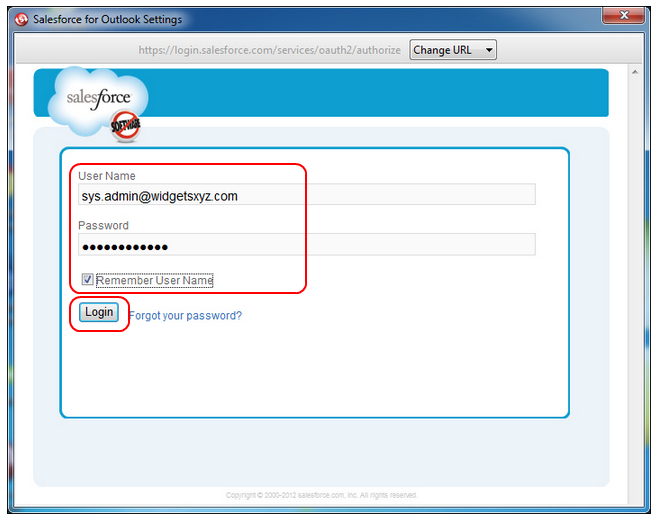
After Clicking on Settings Login window will appear.
Enter Username and Password to log in and Click on Login.
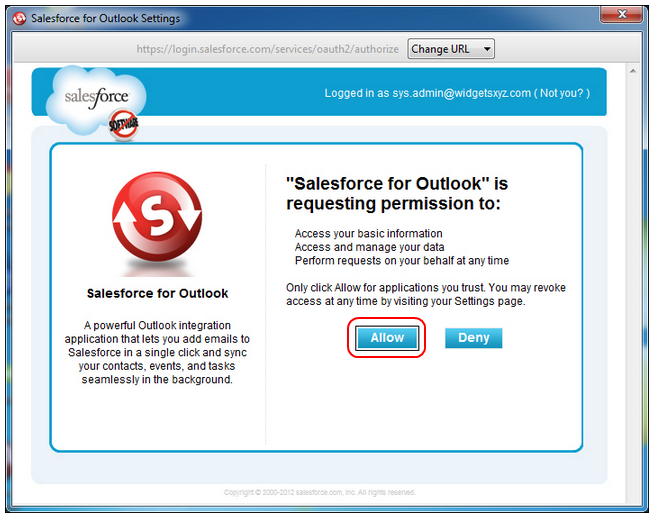
Now a window is appeared to grant permissions. When we click on Allow button a secure connection will be established between Outlook and Salesforce. When secure connection is established no need to enter username and password again.
Now Click Allow.
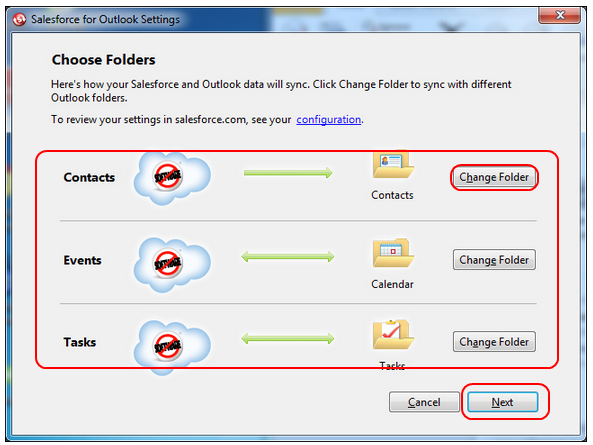
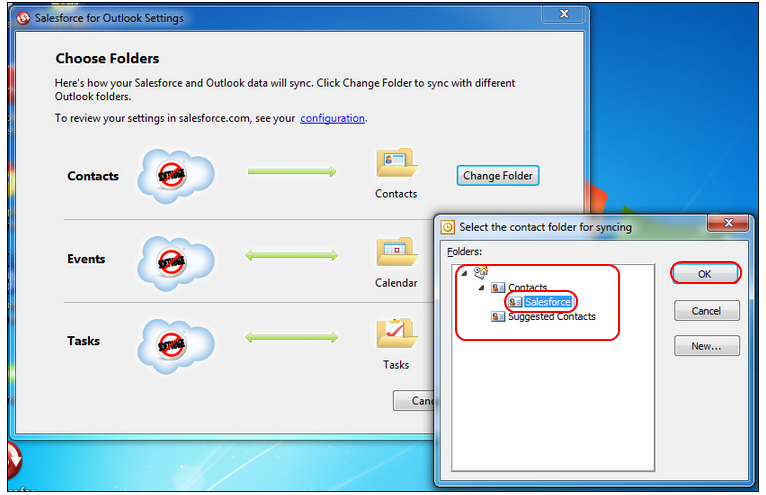
For Contacts Click on Change Folder then a new popup window will appear as shown below.
Select on Salesforce and Select on OK Button.
Select Next Button.
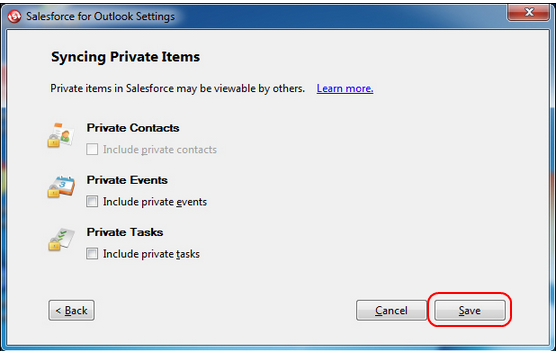
Do not allow any private items to sync and Select Save.
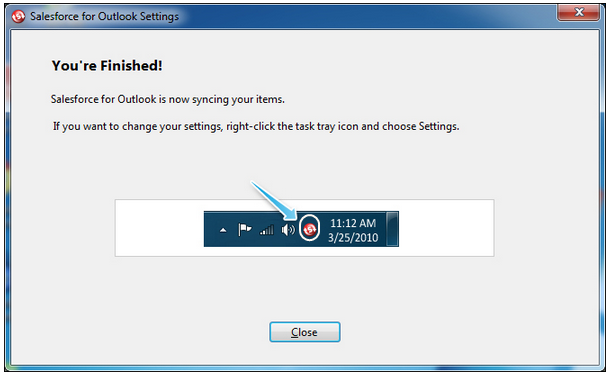
After finishing settings gray item icon is changed to Red Icon. Select Close Button.
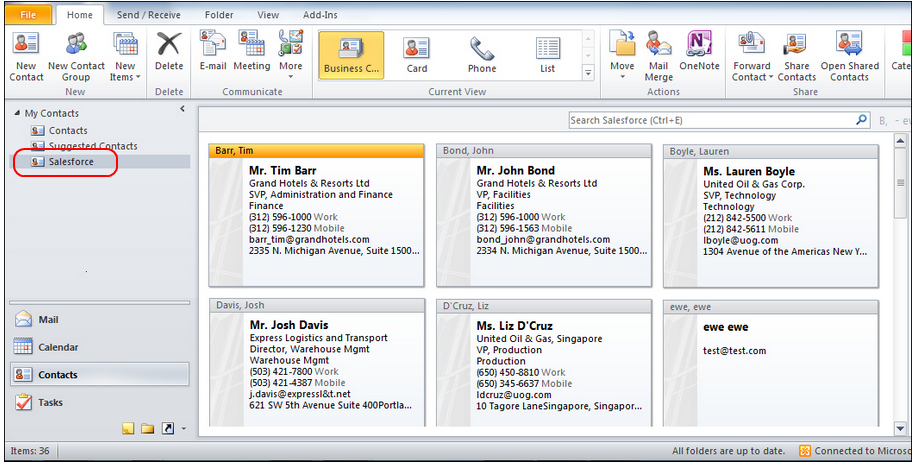
To test how many contacts are synced, the contact records in Salesforce appears in the Salesforce folder as shown above.
